ELK Stack Kurulumu-(Windows)
Although it's generally safer to deploy the ELK Stack (Elastic stack) on Linux distributions, I'll be installing ELK on Windows today and going over a…

Although it’s generally safer to deploy the ELK Stack (Elastic stack) on Linux distributions, today I’ll be installing ELK on Windows and going over some specific use cases. I hope the rest of this article guides you through installing the ELK Stack components on a Windows system.
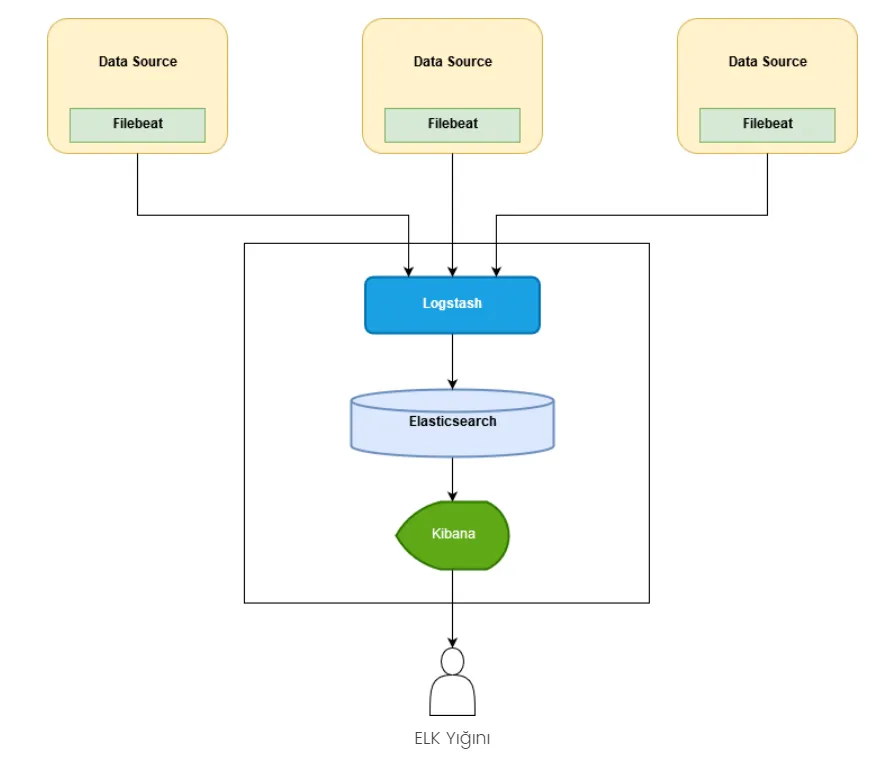
First, let me say a few words about Elasticsearch, Kibana, and Logstash to clear up any question marks you might have.
Elasticsearch is one of the most popular search engines and is built on the Apache library. When installed together with Logstash and Kibana, Elasticsearch can also be used as an analytics engine. Elasticsearch’s popular use cases include Search, Monitoring, Business Intelligence, and Web Analytics. Installing all three together is how we end up with the ELK Stack.
Logstash ingests or collects data from multiple sources at once, and transforms or parses the data according to predefined rules before storing it in Elasticsearch. Kibana is an advanced visualization tool for visualizing the data stored in Elasticsearch using charts and graphs. We can use Kibana to search and visualize the logs indexed by Logstash.
Installation
Elasticsearch and Logstash require Java, so you need to download and install Java on your system.
I’ll assume you already have Java installed and get started. I’ll begin with Elasticsearch first.
Installing Elasticsearch
You can download the latest version of Elasticsearch from the Elasticsearch download page. Extract the downloaded package to a specific folder on your file system (for example, C:\elasticstack).
- Now let’s go into the bin folder inside Elasticsearch and copy the path. Then open the command prompt as administrator and use the cd command to navigate into the path you copied.

- Then, after typing the following command to start elasticsearch with the .bat file, we press Enter to start the search server.

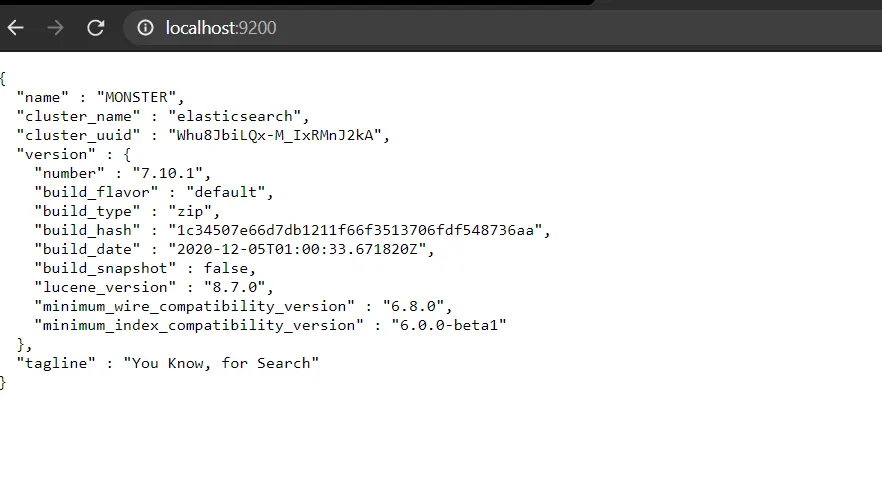
- If the Elasticsearch server has started, you’ll be able to see its IP address successfully. To check whether your server is running, you can open your browser and query “localhost:9200”. Here, 9200 is the port number.
- The following result indicates that Elasticsearch is running. It will show you information about your system here. In my case, my machine is a Monster, the Elasticsearch version, and so on.
Installing Kibana
Now we’ll do something similar to what we did with Elasticsearch, since the installation process is essentially the same for all of them. Let’s get started.
First, let’s download Kibana from this download page.
- Next, let’s extract the file and save it into our target folder. We go into Kibana, then into the bin folder, and copy the file path. After opening our command prompt as administrator, we prefix it with cd and paste the path as shown below.

- To start Kibana, we run it with the .bat extension and press Enter. After a few seconds, Kibana will have started.

- After running the command above, if it started successfully, you’ll get a result like the one below.
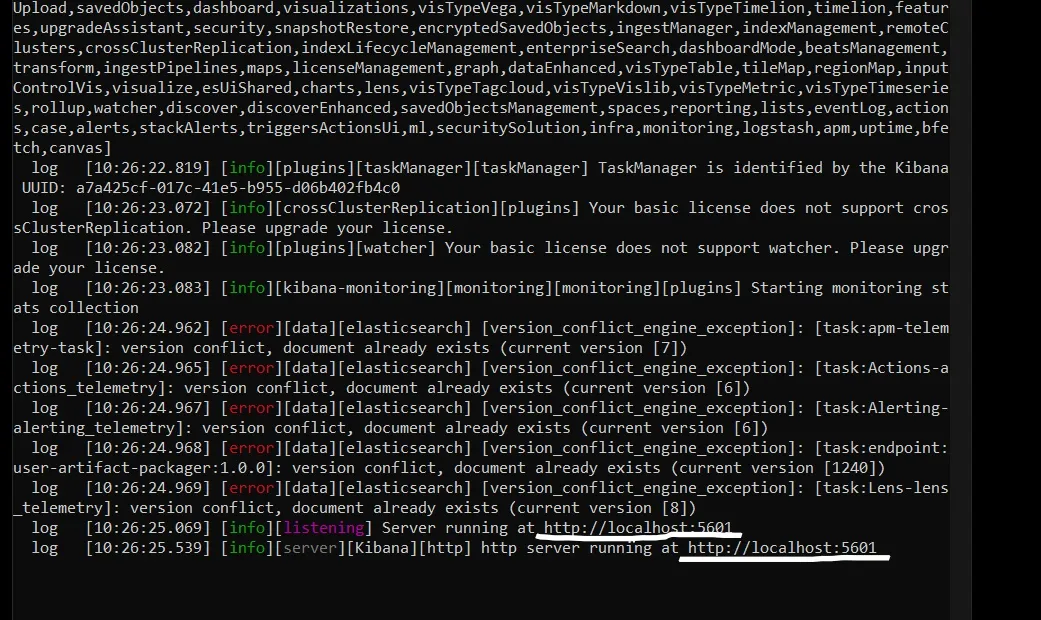
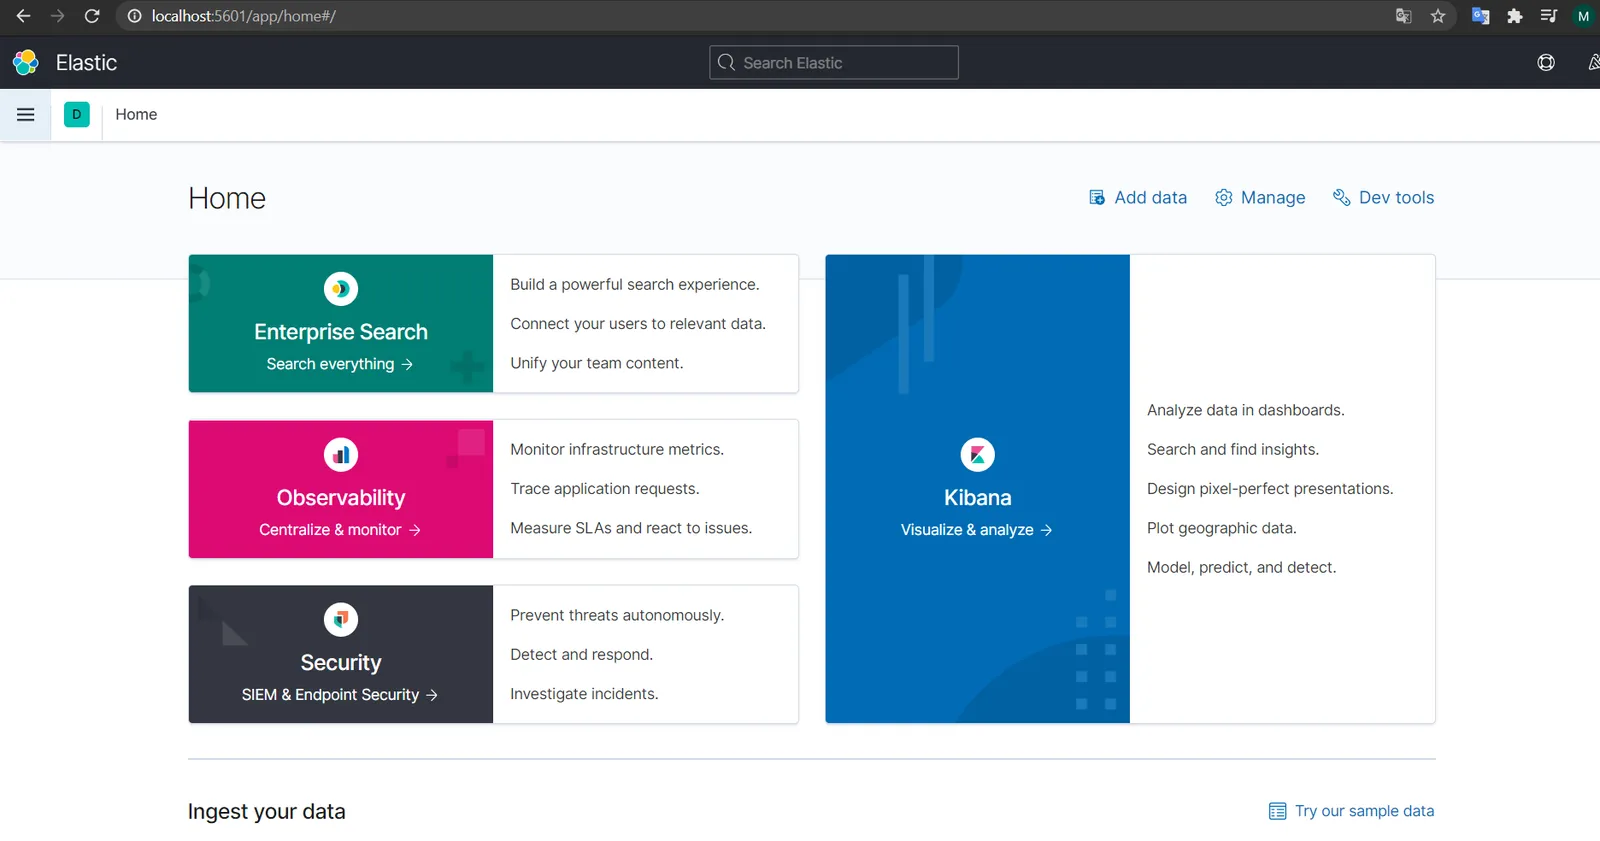
To verify that Kibana is running, you can again check by typing “localhost:5601” as the port in your browser. You’ll then be greeted with the Kibana interface shown below. From here, you can also make adjustments to make it easier to use.
NOTE:
I previously ran into an error like this: “Error: Start lifecycle of “beatsManagement” plugin wasn’t completed in 30sec. Consider disabling the plugin and re-start.” I looked into this error a bit and found that Beats central management has been deprecated and they’re currently working on a comprehensive solution. They’ll most likely release a fix for this error. If you run into errors in some cases, you can usually find them by searching on Google.
Installing Logstash
We download Logstash from this link.
- To be able to configure it and connect it to Kibana and Elasticsearch, I do the following. First, I go into Logstash/bin and copy the path. (C:\elasticstack\logstash-7.10.1\bin)
- In this step, we go to System/Advanced System Settings/Environment Variables/Path.
- Then we paste the path we copied here, and do the same thing for Kibana and Elasticsearch, then click OK to close out.
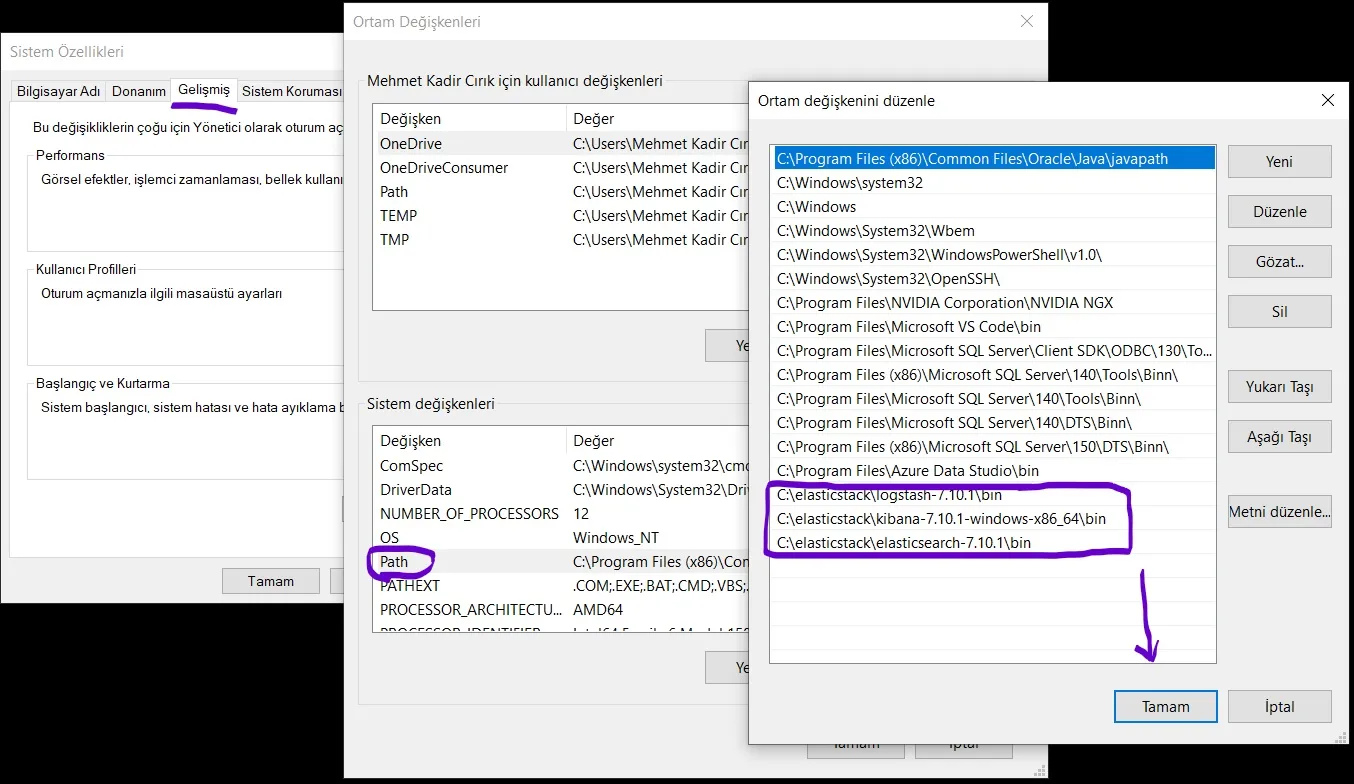
Now I’ll create the Logstash.conf file, and for this I’ll use the Visual Studio Code editor.
- I write the following code in my Visual Studio Code editor. Since this code and these steps get updated over time, you can review the current steps here before doing this yourself.
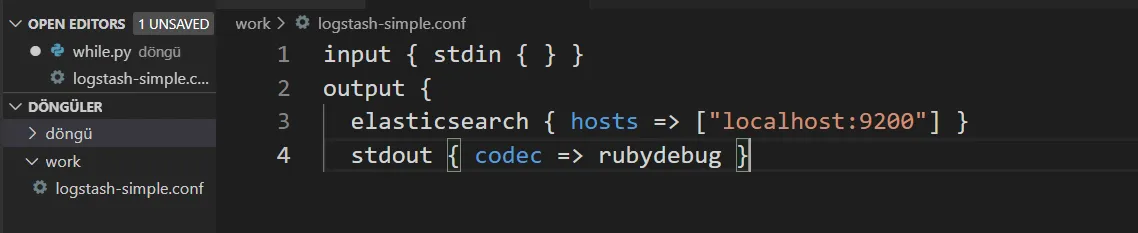
- I saved my code inside the logstash-simple.conf file, and now I’ll copy the path. I open my command prompt as administrator and copy the path.

- Finally, I start Logstash by running the command below. If you get output like the one below, it means the installation was successful.

Now that we’ve completed this final step, we’ve successfully installed the ELK Stack (Elastic stack). I enjoyed writing this, and I hope you enjoyed reading it too. Thanks for reading this far. :)