How to Parse $MFT?
In this article, I'll cover "how to parse MFT?" There are many tools available for parsing MFT records. In this article, I used three tools to carry out the MFT…

Hello everyone. :)
In this article, I’ll cover “how to parse MFT?” There are many tools available for parsing MFT records. In this article, I used three tools to carry out the MFT parsing process.
- FTKImager: This tool can be used for many different purposes in digital forensics. My purpose here is to first import one of my computer’s hard disks. After that, I’ll extract the $MFT record from it into a folder.
- MFTECmd.exe: Second, I’ll use the MFTECmd.exe tool found on EricZimmerman’s GitHub page. I’ll use this tool to parse the $MFT record I extracted into the folder. EricZimmerman’s GitHub account also has many other tools used in this field.
- Timeline Explorer: Instead of examining the parsed MFT data in Excel, you can use this tool to get a more organized view, along with faster searching and faster indexing.
The $MFT Parsing Process
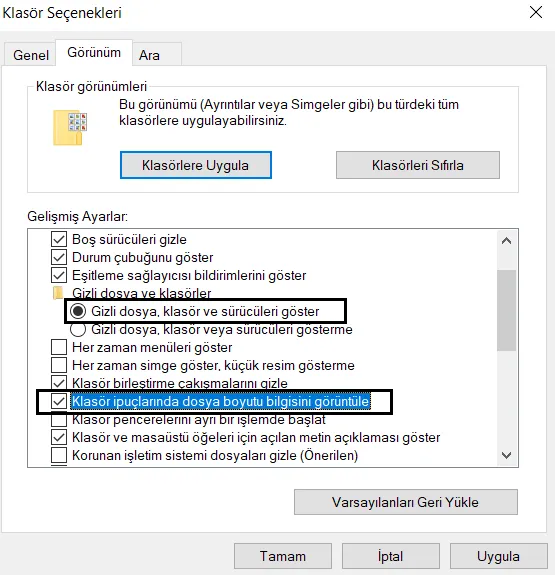
The first thing we need to do is enable the visibility settings for hidden items. To do this, we go to “View > Options” on our folders. Then, on the tab that opens, we go to the View tab and check the boxes shown below, as pictured.
The reason I’m doing this is that the files we want to parse are Windows system files, which are hidden by default. If you skip this step, you won’t be able to see the files you extract after the parsing process.
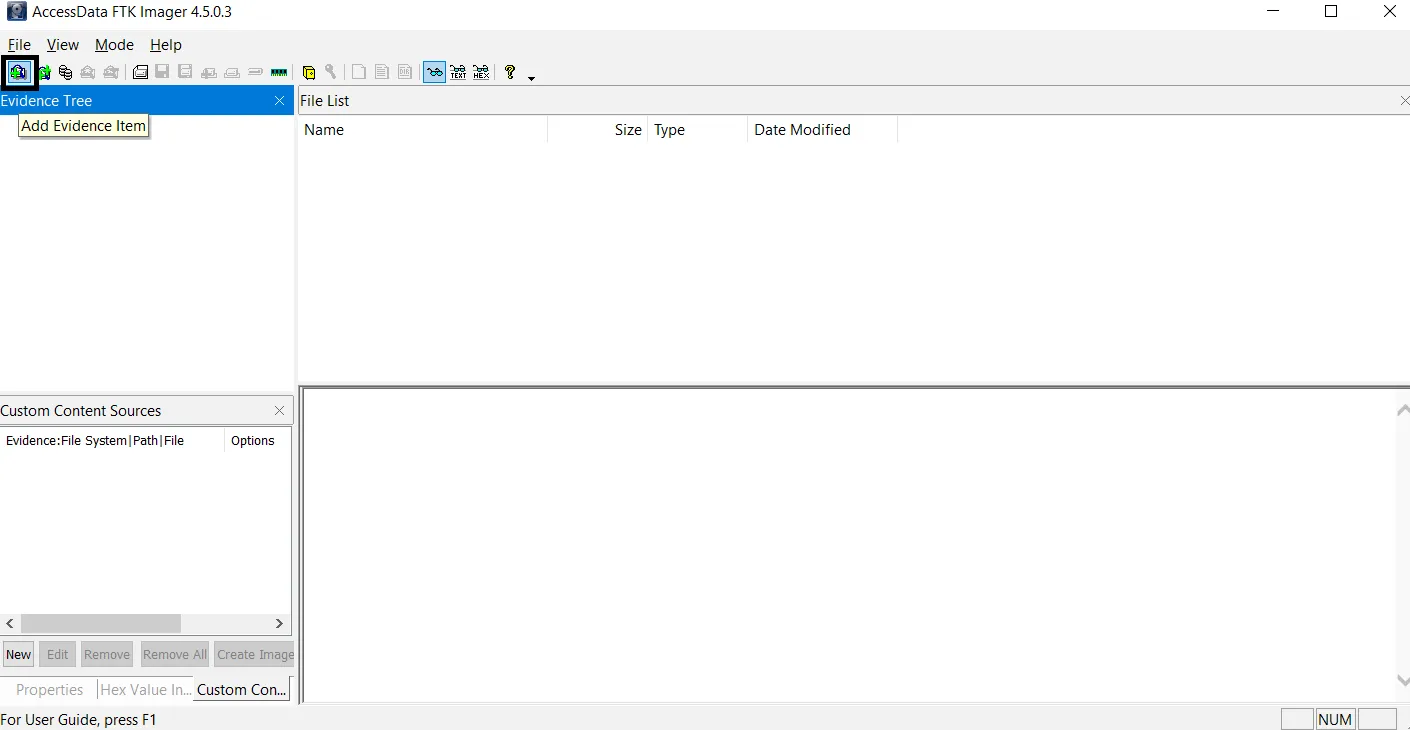
- At this step, we’ll use FTKImager to extract the $MFT record into a folder on the desktop. To do this, first select the “Add Evidence Item” option on the left, as shown in the image below.
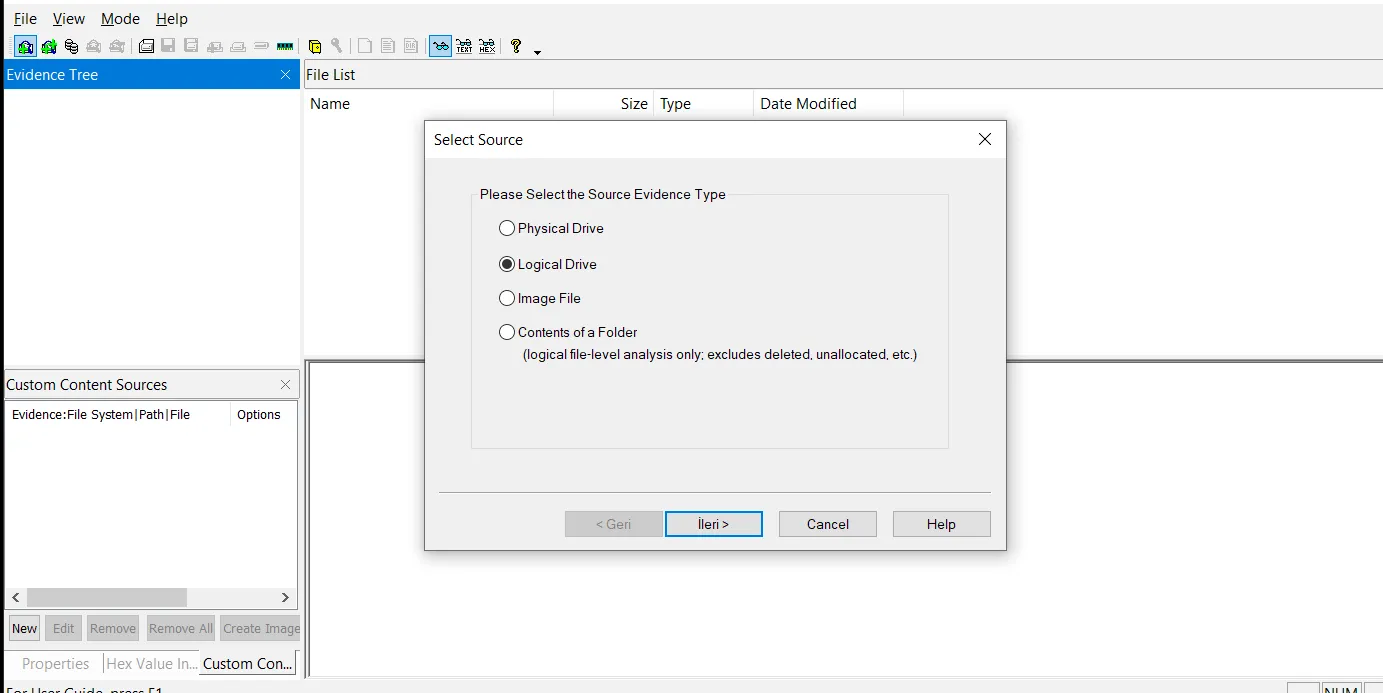
- Since I’m going to parse an $MFT record from my own system here, I’m selecting the “LogicalDevice” option. If you want to do this on a disk image you’ve already captured, you can select the “ImageFile” option instead.
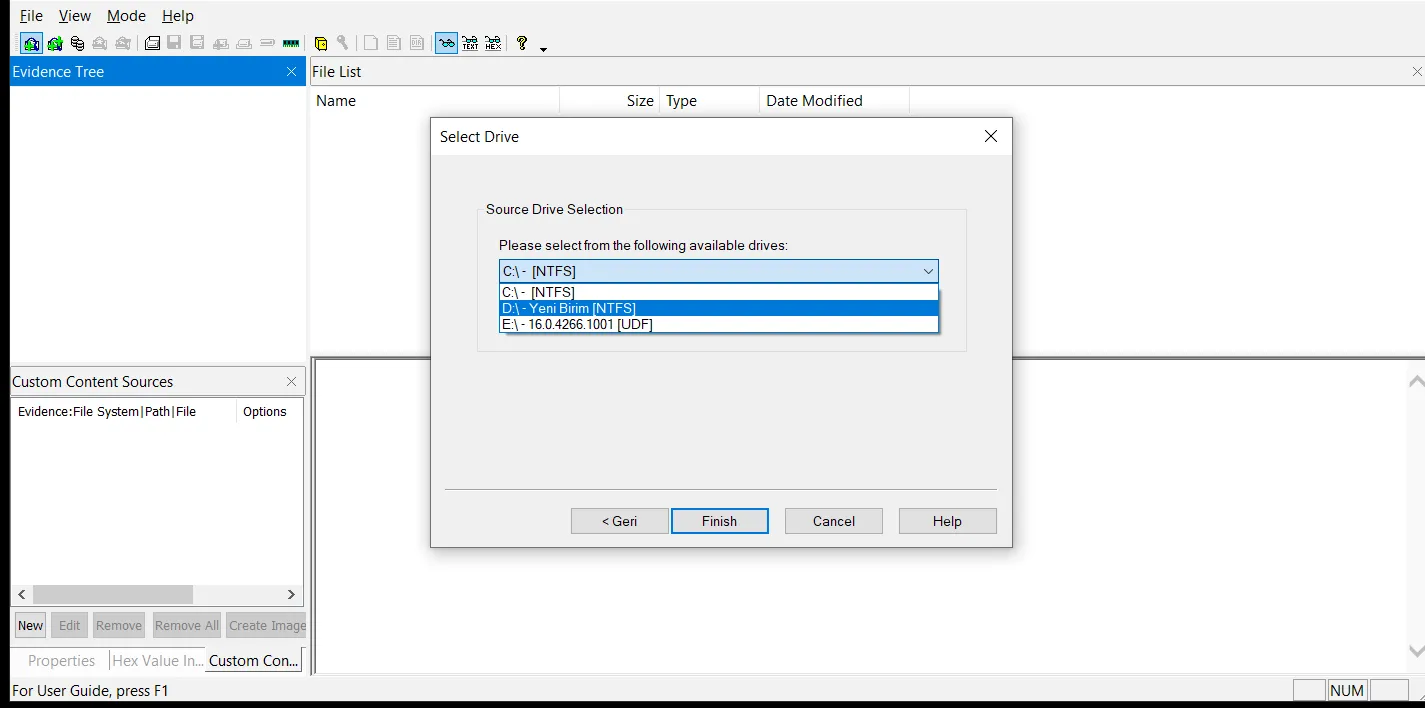
- Here, I want to add my “D” drive, so I select that drive at this step. As you can see, this drive’s file system is also NTFS.
- As shown in the image, we can see that this drive has been imported. Now we can see the $MFT record under “root”.
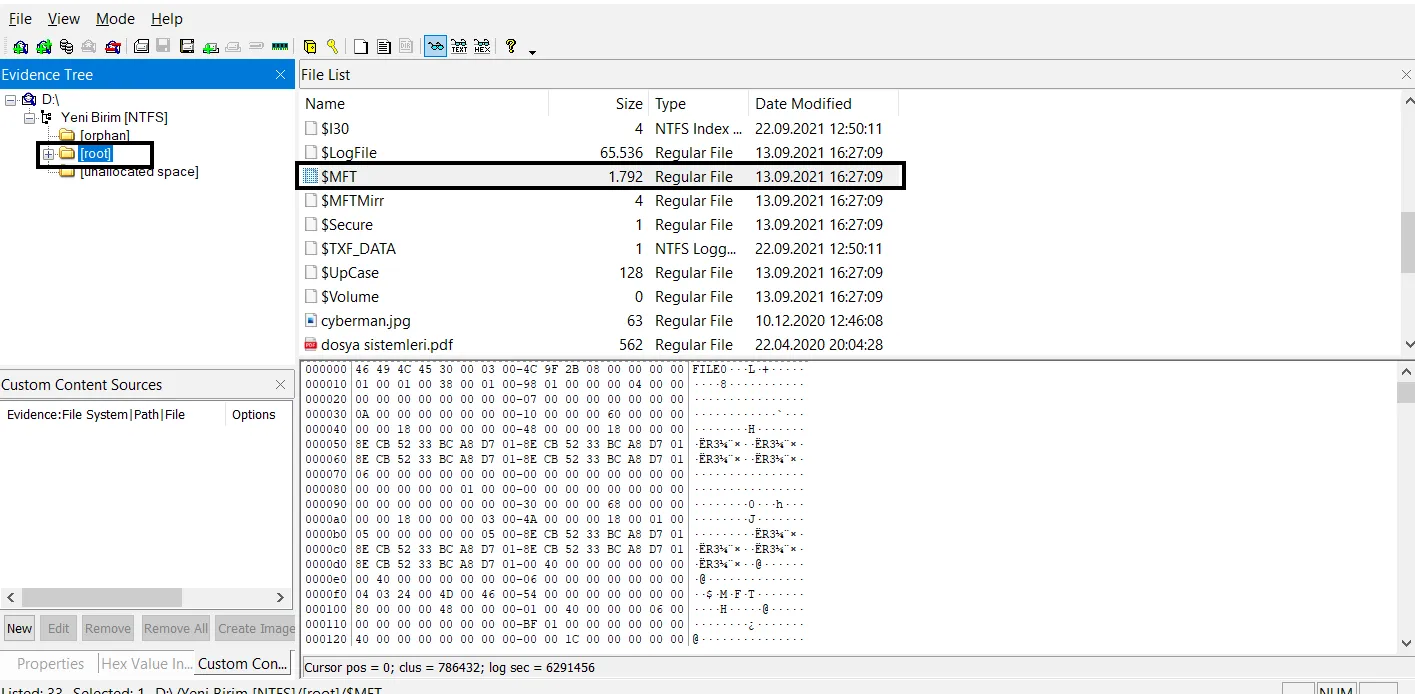
- At this step, in order to be able to parse our MFT file, I’ll first save it into a folder on my computer. We right-click the $MFT file and select “export files”.
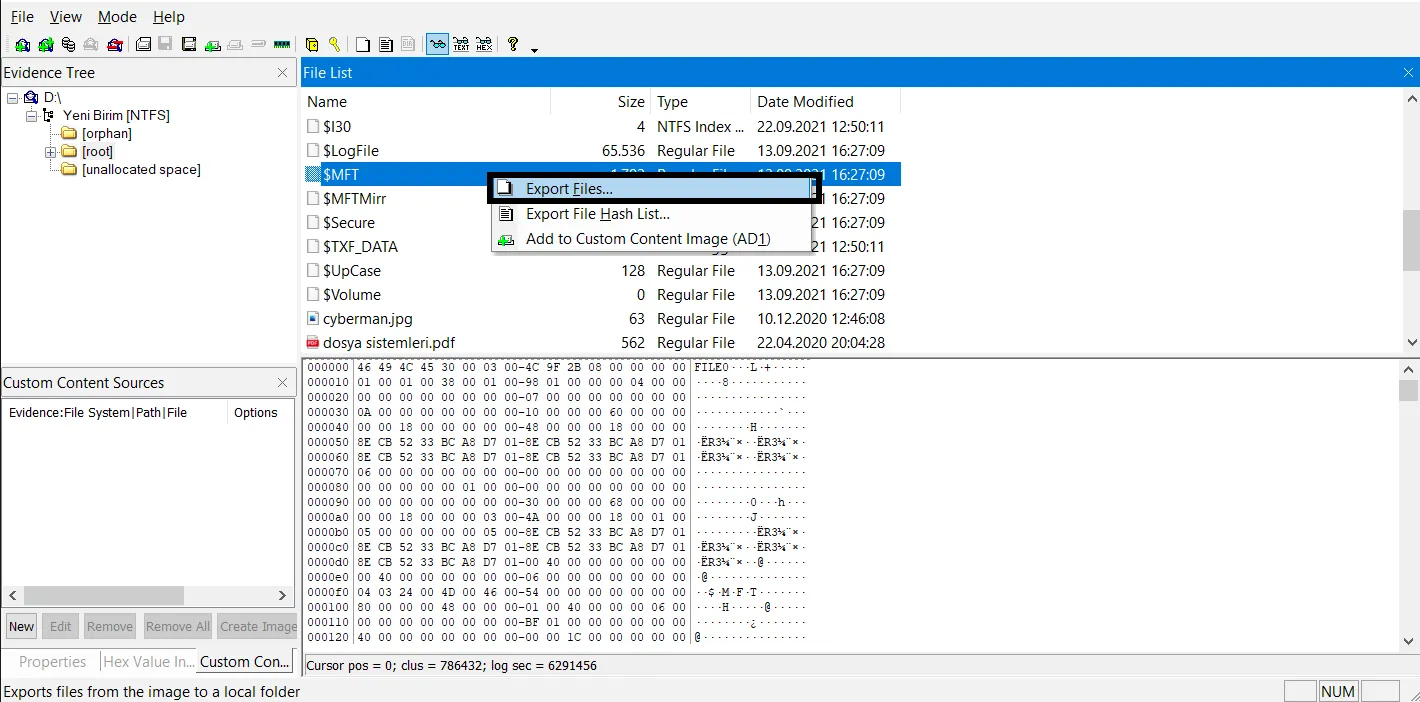
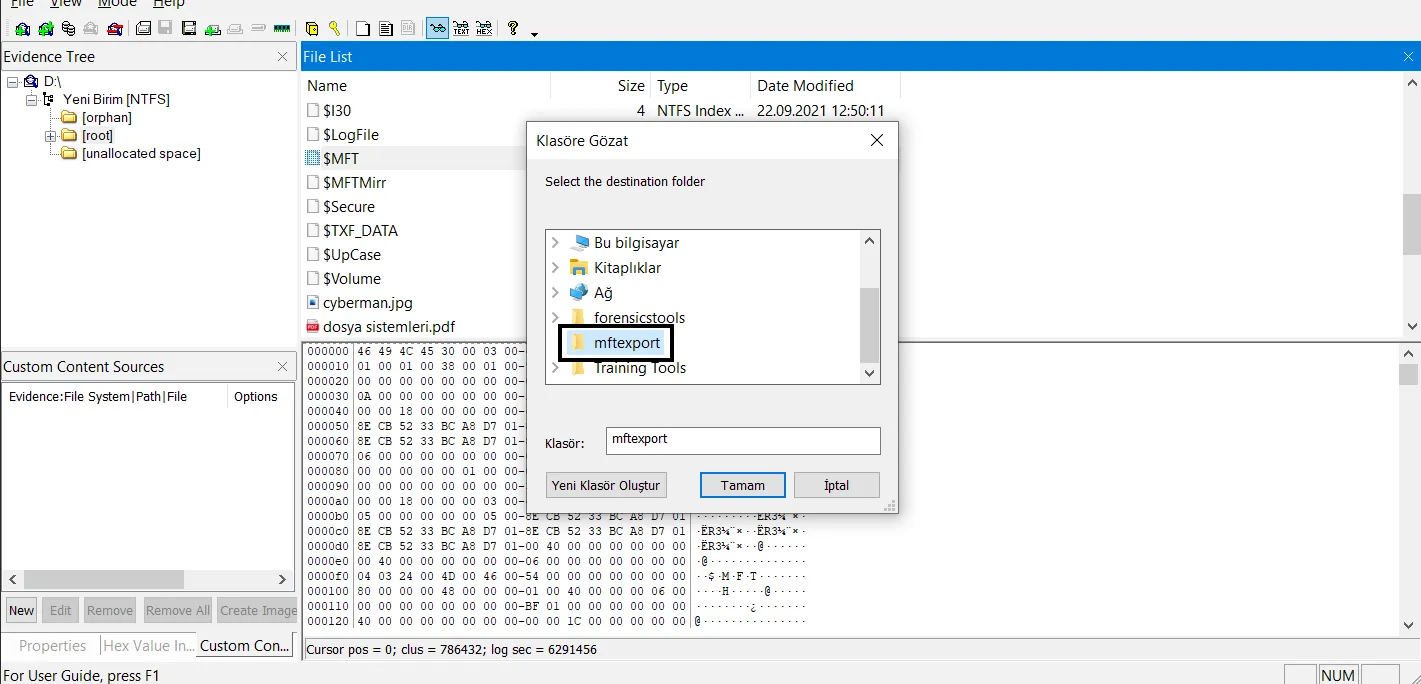
- We select the folder we want to save it into. I extracted it into a folder I created called “mftexport”.
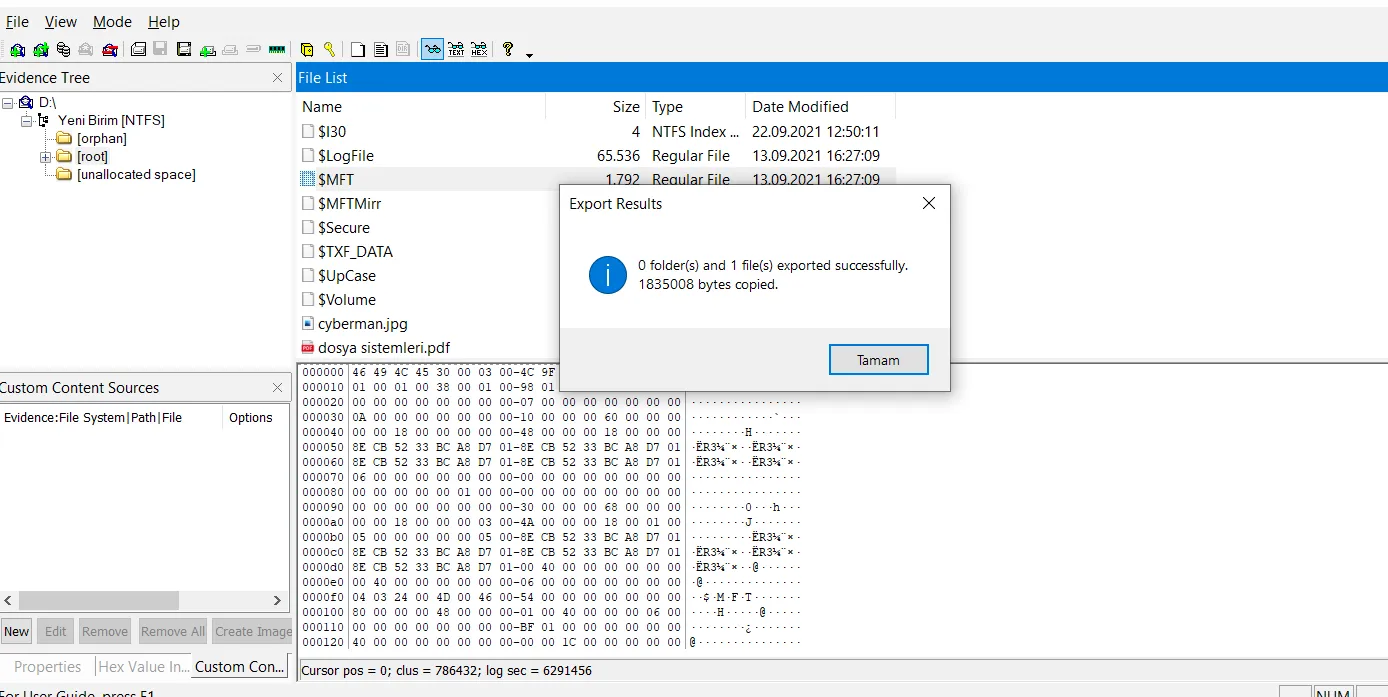
- We can see that it was extracted successfully.
- You can find the “MFTECmd.exe” tool we’ll use for parsing at this link.
- You can place the $MFT record we extracted and this tool in the same folder.
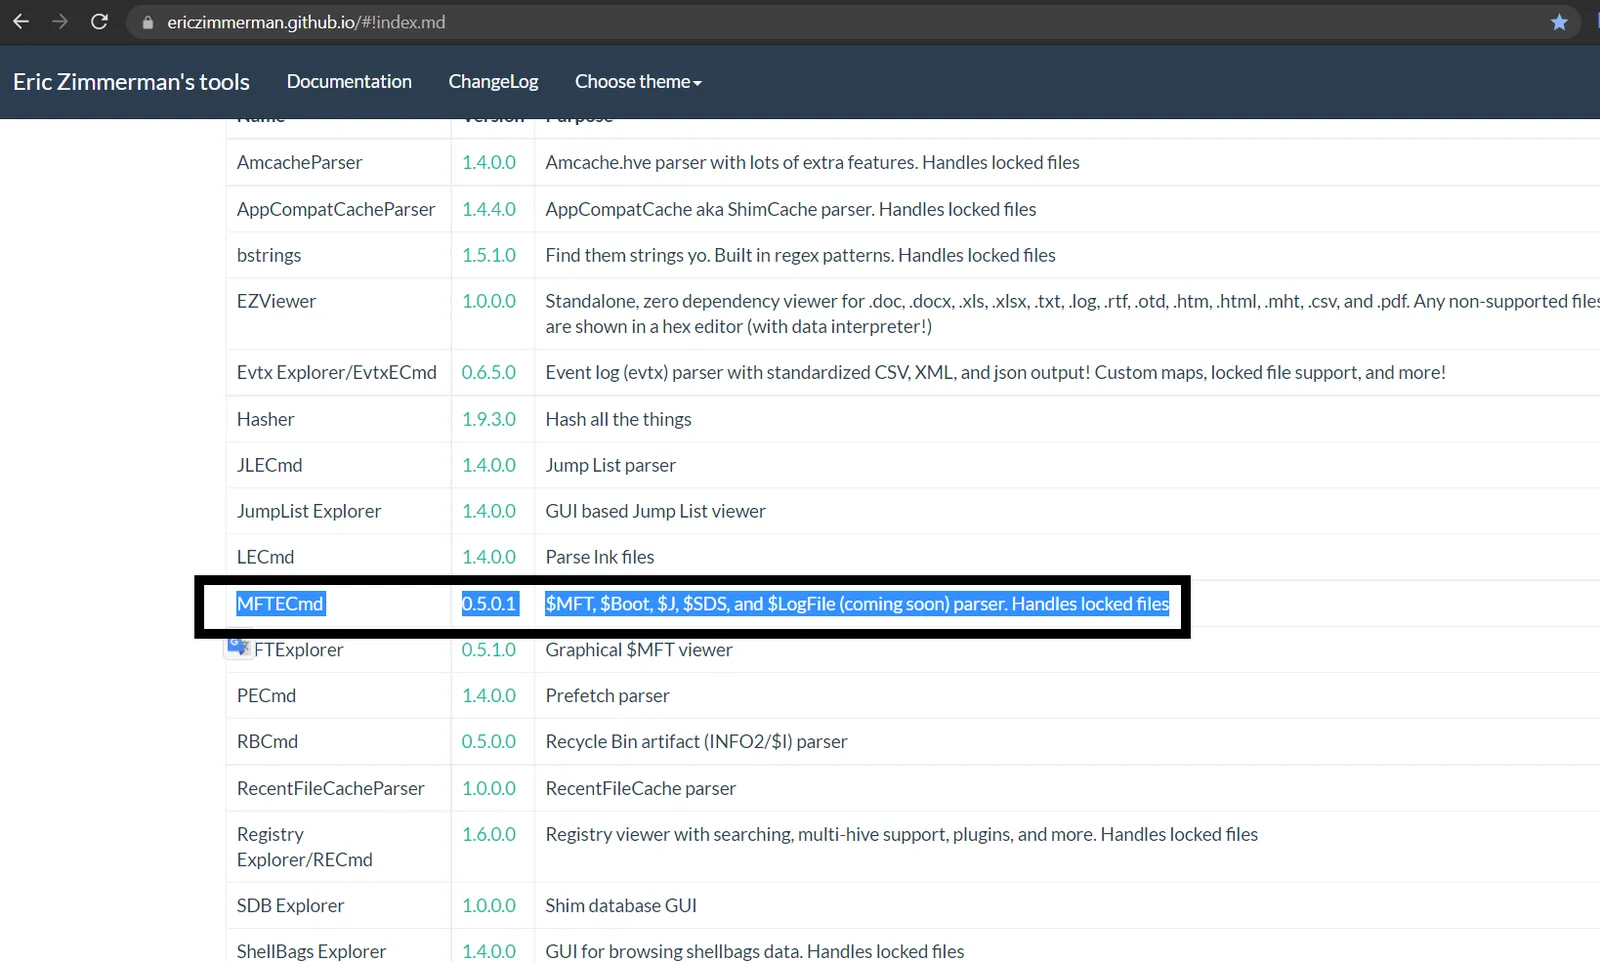
- To use this tool and run the parsing process, we open the command line as administrator.
- We copy the path to the folder containing our tool and the $MFT record. Then, the two commands we use are as follows.
- “cd (paste the path here.)”
- “dir”
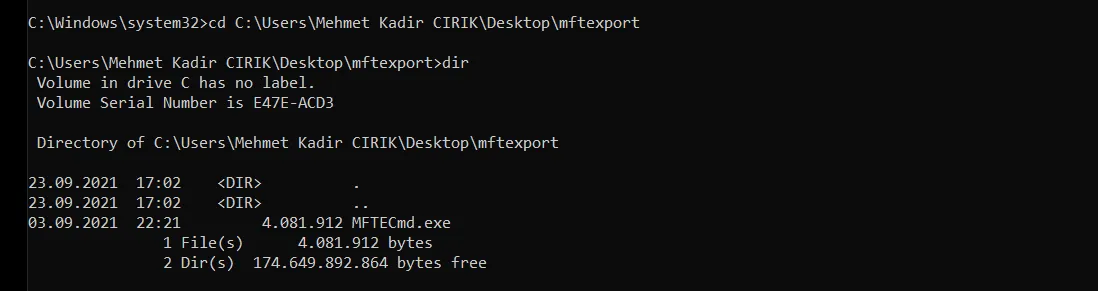
- At this step, we provide the path to the MFT file, along with where we want to export it and what name we want to save it under.
- “ MFTCmde.exe -f <MFT_file_path> –csv <the_path_you_want_to_export_to> –csv**<the_name_you_want_to_save_it_as>** “
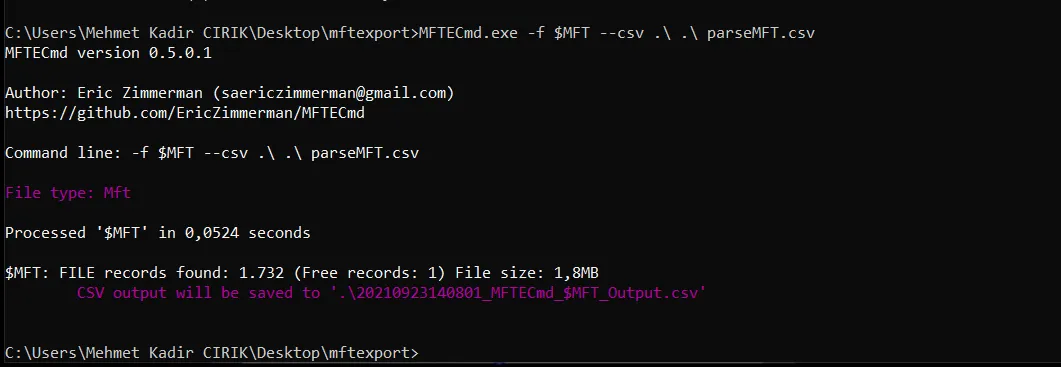
- Here we can see that the parsed MFT record, in .csv format, has been saved to the location we specified.
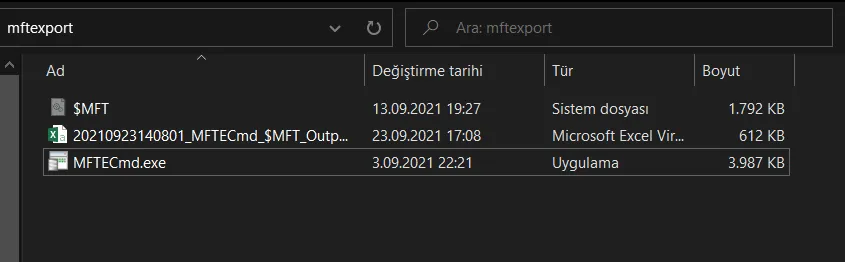
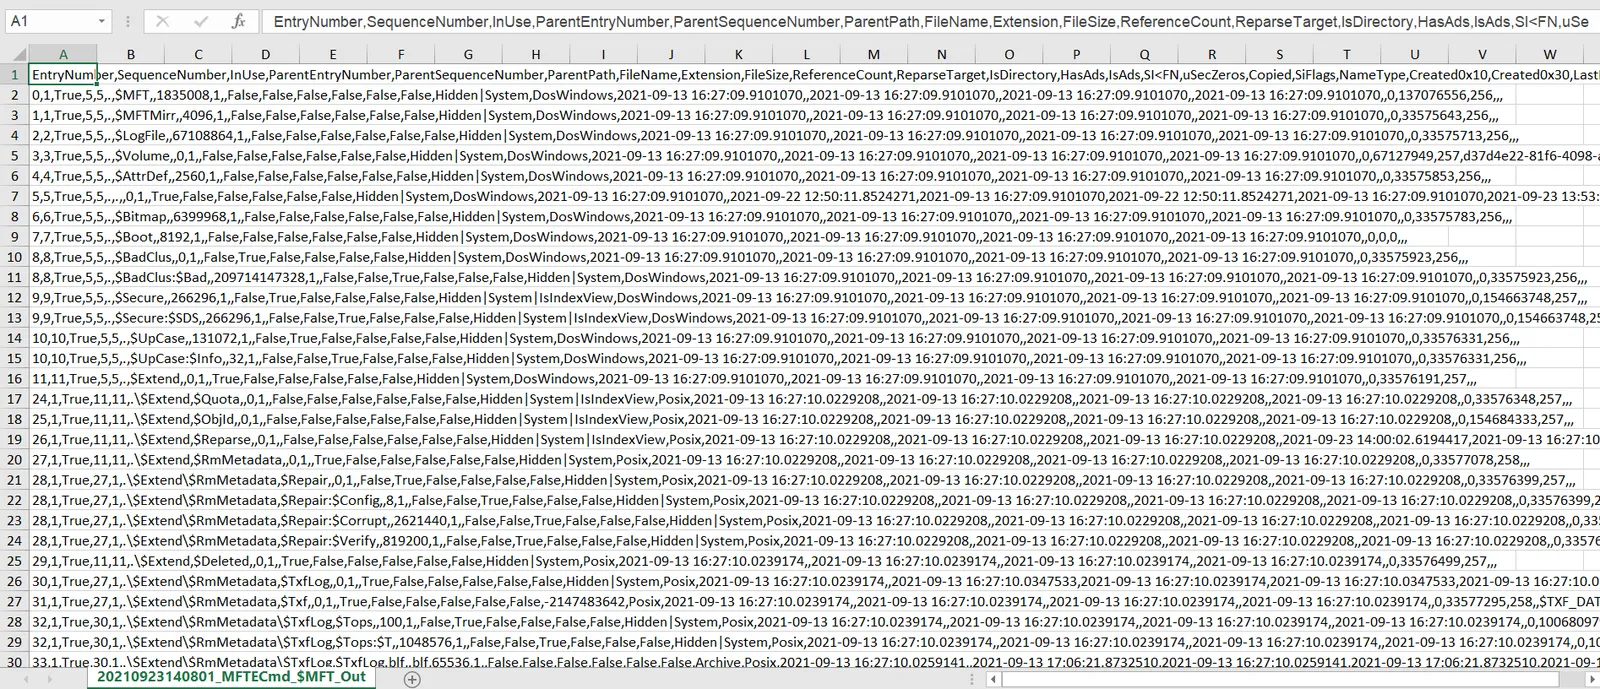
- When you open it in Excel, you may run into a fairly messy layout. However, after doing the necessary formatting, you can carry out your review.
- Instead of examining it in Excel, I’ll use another tool called “TimelineExplorer”.
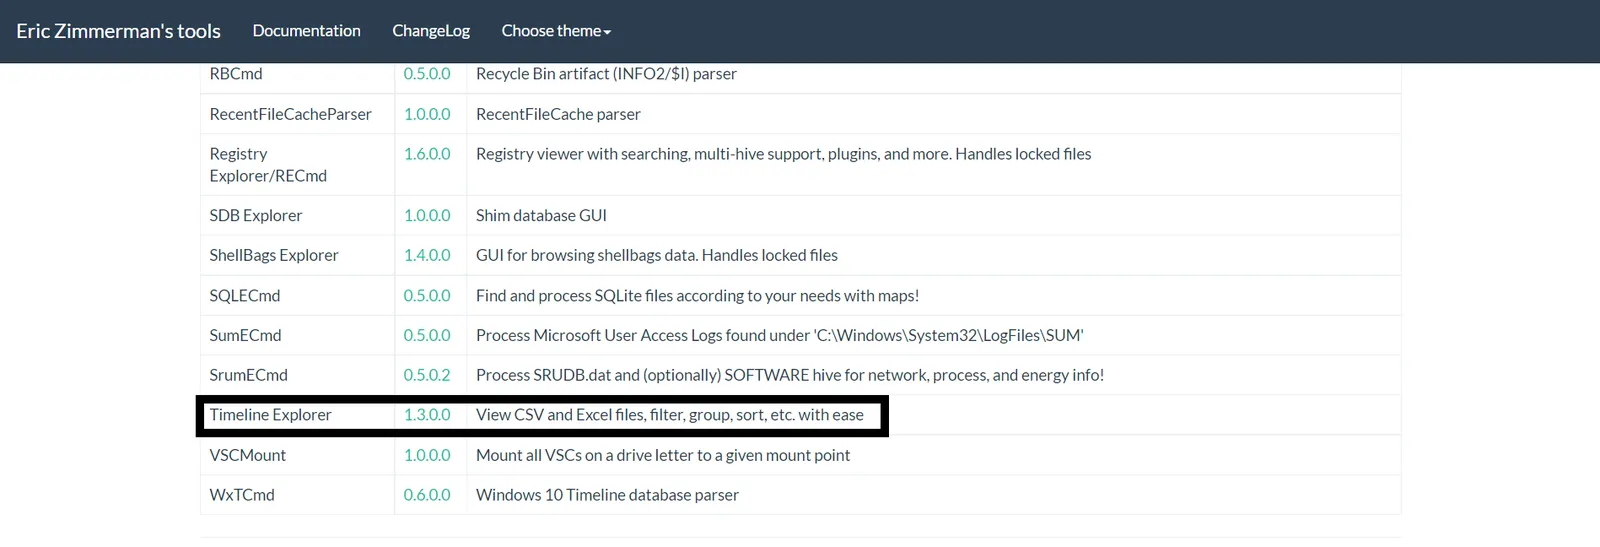
- This tool is also available on EricZimmerman’s GitHub account.
-
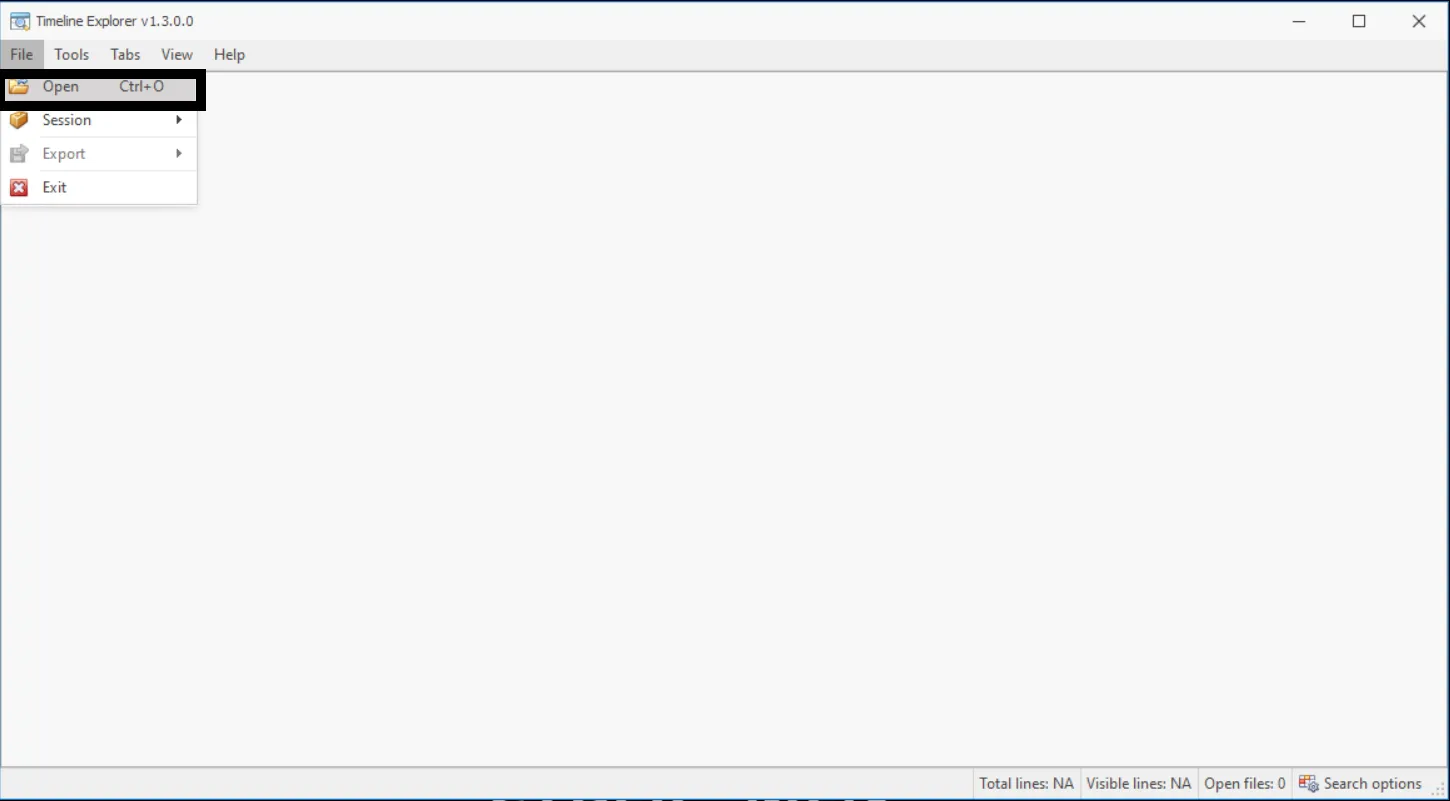
Once you run the tool, you’ll be greeted with a screen like the one shown below. Here, we select “File > Open”.
-
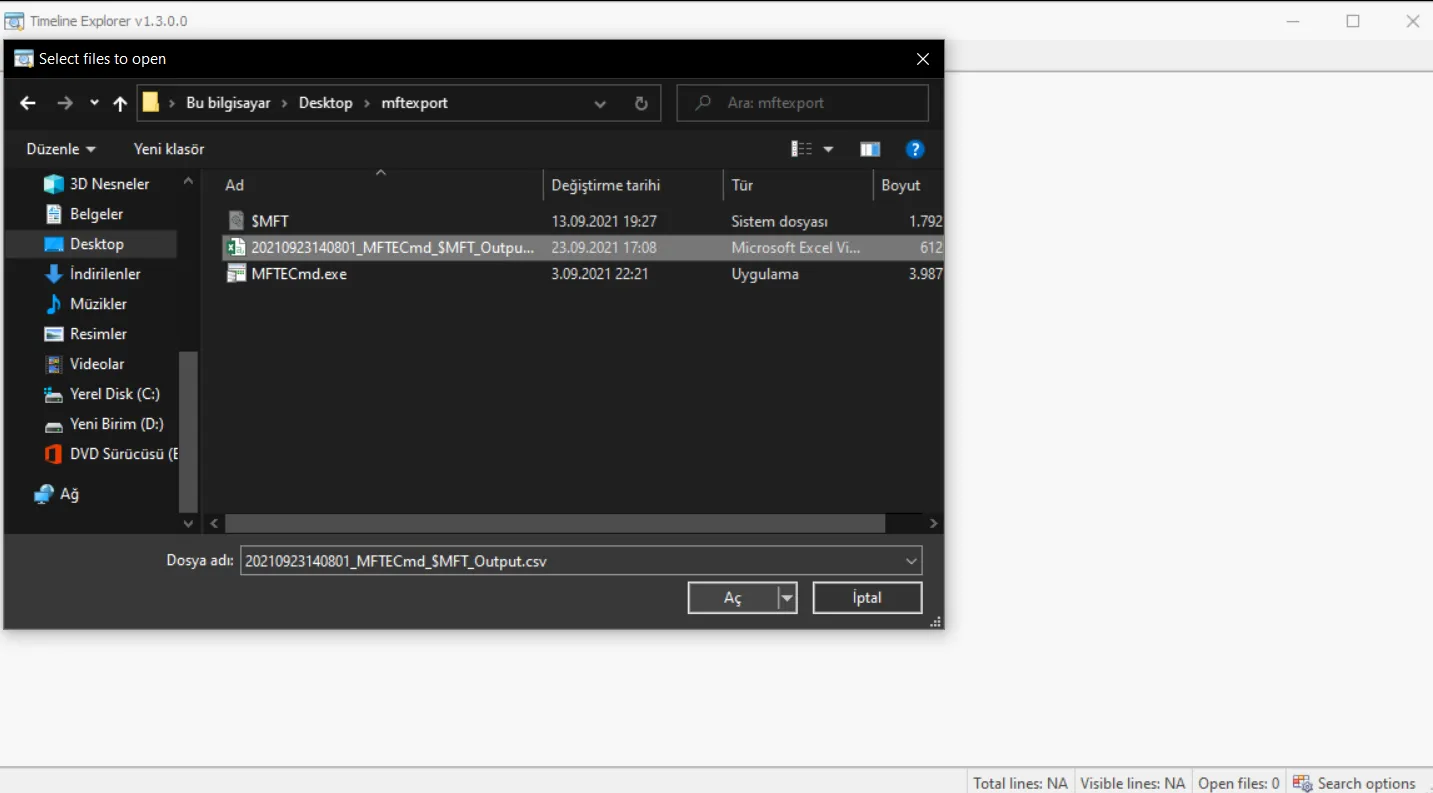
We select the file we want to view.
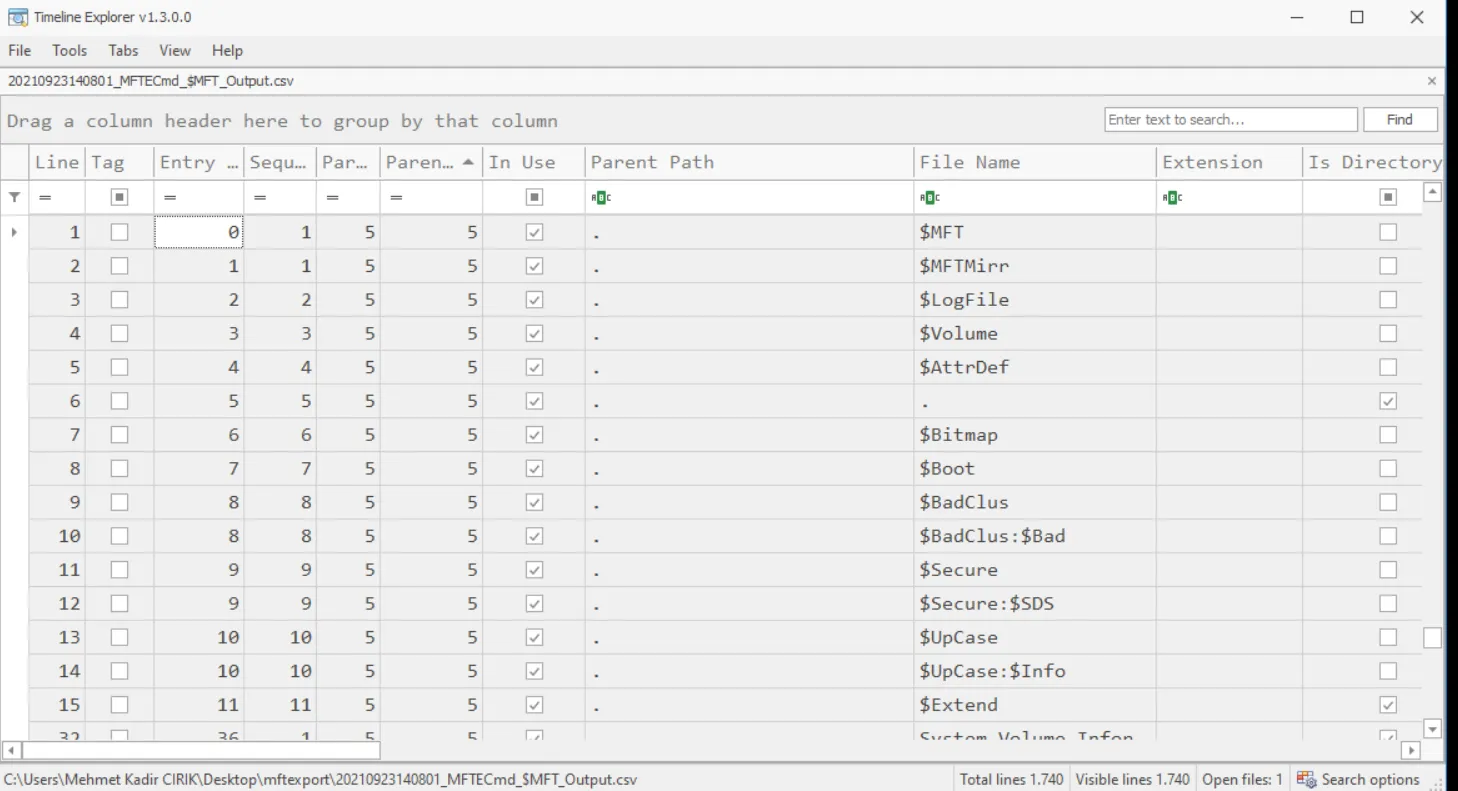
- As you can see below, we’ve now opened the $MFT record we parsed. You can carry out your review here.
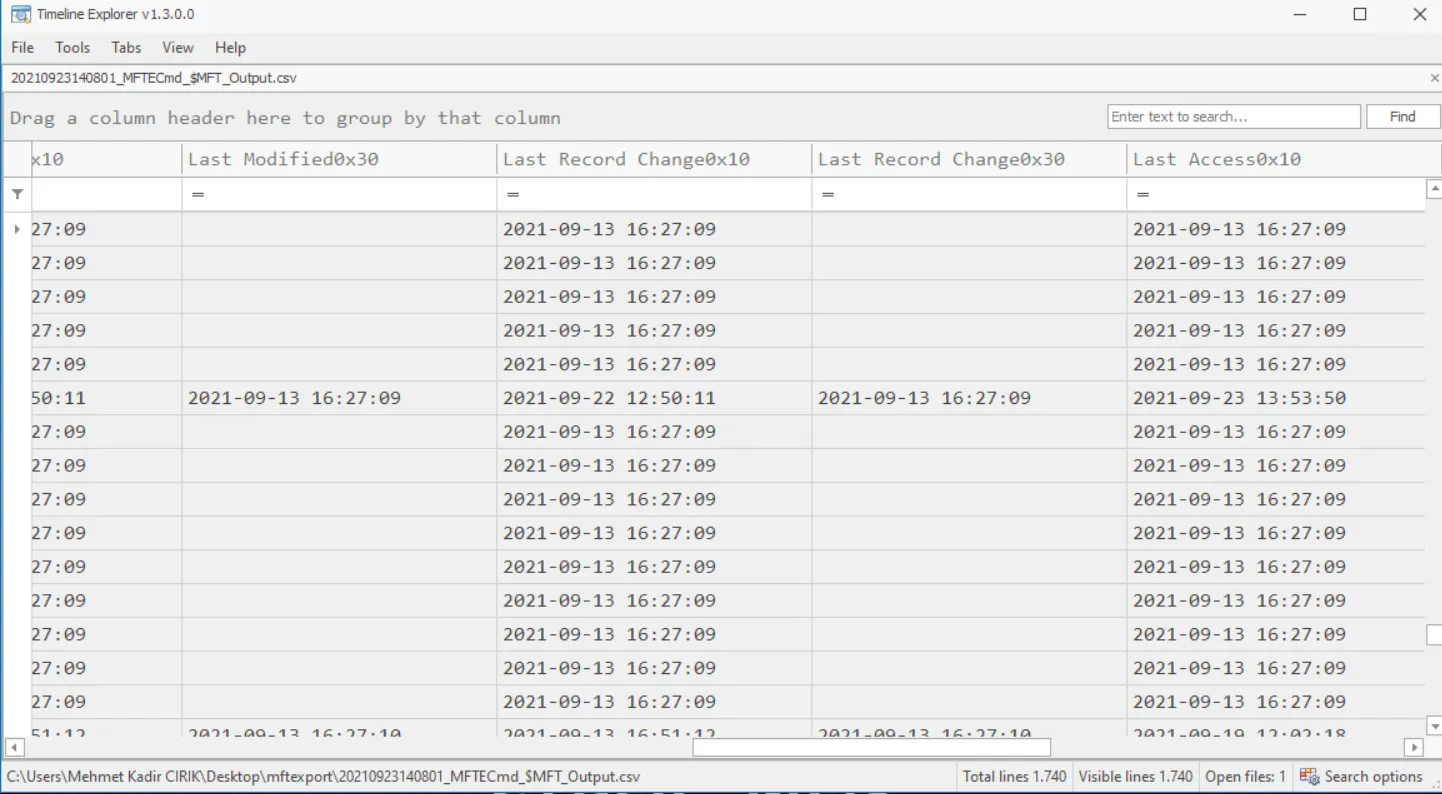
- The columns you see in the top row hold a range of data about the records on the system, including creation date, file name, size, access date, and copy information.
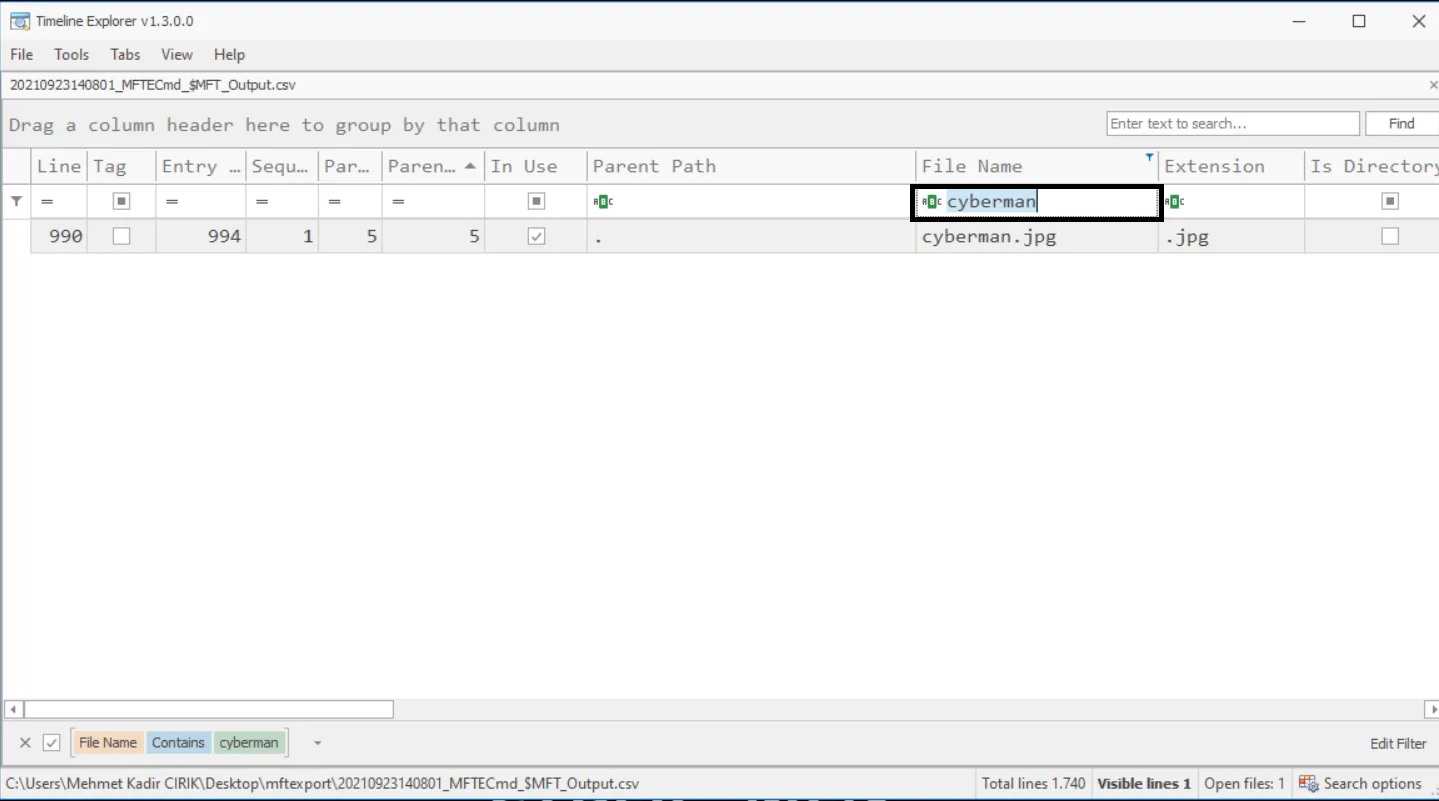
- For example, if you want to search for a file in the MFT table and access its information, you can type its name into the “filename” field to search for it.
sources: